
24 September 2025 · 7 min read · Last updated 17 September 2026
Refreshing an Interior Without a Full Renovation
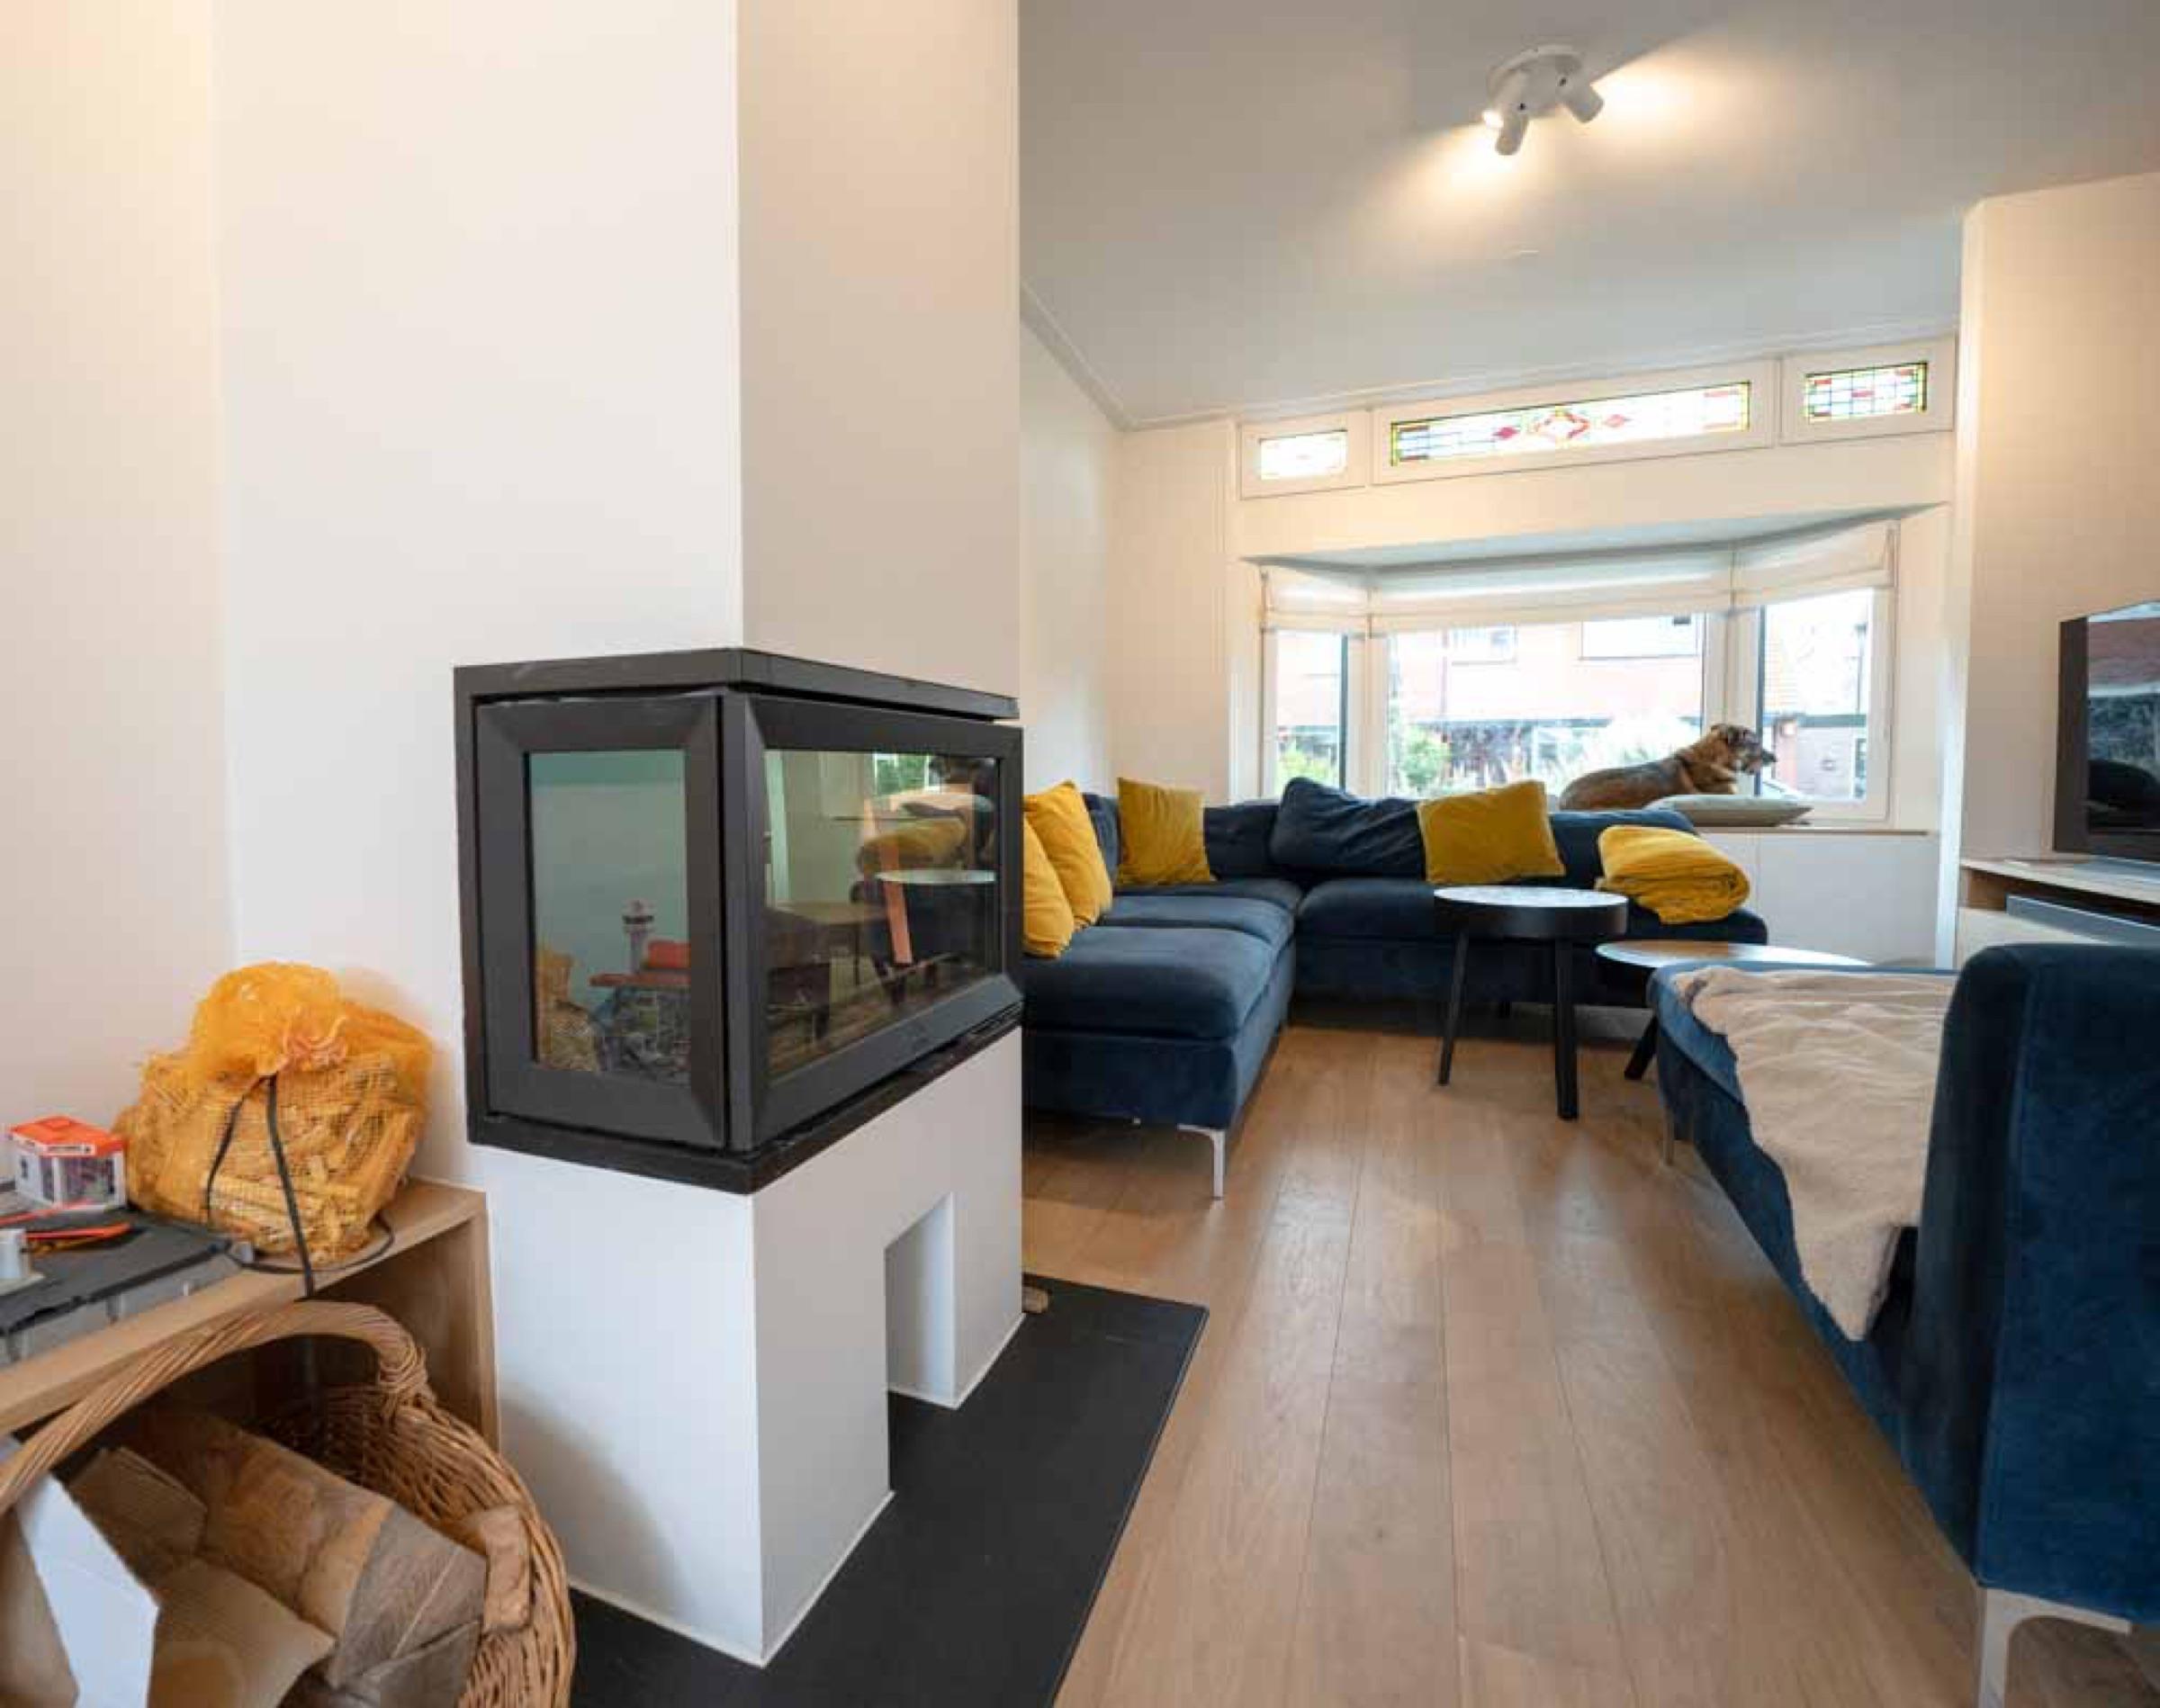
A client in De Pijp put it well: nothing is broken, we just want it to stop feeling tired. The kitchen worked, the bathroom was sound, the floor was fine. What made it feel dated was a short, fixable list: grey grout lines and yellowed silicone, one bare ceiling fitting per room, cabinet fronts worn white along the edges, a cable run taped along the skirting, and a hallway you had to feel your way down. Three weeks of work, and none of the walls moved.
That is what a refresh is good at: surfaces, light and detail. It is worth being honest about what it cannot touch. If the real complaint is that the room is cold, damp, noisy or laid out wrong, a refresh hides it for a season and then it is back. Those are renovation questions.
Start with an hour and a notebook, not a shopping list
Walk the flat twice, once at eleven in the morning and once at nine in the evening, and write down only what you actually notice. Most people are surprised by how little of the list is about colour. Photograph each room with your phone set to black and white: with colour removed you see the tonal mess, the clutter and the lighting for what they are. Then set a rough budget split before you buy anything, because the common mistake is to spend everything on visible items and nothing on light. Roughly 40 percent on lighting and electrics, 40 percent on surfaces and the rest on storage is a sensible start, since a tired room is often a room with nowhere to put things, and joinery that uses the space you already have will then do more than any amount of paint.
1. Grout and silicone: ten years off a bathroom in a day
Cement grout is porous and Amsterdam water is hard, so grout lines collect limescale and soap residue and go grey from the top down. Clean first with an alkaline tile cleaner, let it dry fully, then use a proper grout refresher rather than a household paint. Where grout is crumbling, rake it out two to three millimetres and re-grout properly; painting over a failing joint only delays the work. Silicone is different: the kit in internal corners and around the bath is a wear item on a five to eight year cycle. Cut it out completely, clean the joint with alcohol, and apply fresh sanitary silicone with a fungicide. Never run new silicone over old; it will not bond and mould returns within months. Indicatively, re-kitting a bathroom is half a day and 200 to 400 euros, regrouting 300 to 800 depending on area.
One warning. If tiles sound hollow when tapped, if grout goes dark again within weeks, or if there is a damp patch on the other side of the wall, the waterproofing behind the tiles has failed. Refreshing the grout then hides a problem that gets more expensive every month, and the only real fix goes back to the substrate.
2. Fronts, handles and worktops, keeping the carcasses
If the carcasses are square, the hinges sound and the layout works, replace only what you see. Sprayed fronts in two-component lacquer on new MDF give an existing kitchen a genuinely new character for an indicative 1,500 to 3,500 euros depending on the number of doors, and standard carcasses including IKEA Metod accept third-party fronts. Self-adhesive foil is cheaper and can look good for a while, but the edges lift where steam hits them, beside the dishwasher and above the oven. Handles are the cheapest change of all, and swapping the plinth at the same time is what makes it read as new rather than as a repair.
A worktop swap onto existing units is the next step up: laminate is indicatively 150 to 300 euros per metre, composite or quartz 400 to 900, templated with the sink and tap replaced at the same time. What none of this fixes is a bad plan. If two people cannot pass, if the fridge blocks the run, or if extraction was never sorted, you are decorating around the problem, and those are the faults in the ten kitchen mistakes we keep meeting.
3. Light: the biggest change per euro, and the one most often botched
Dutch homes typically have a single centraaldoos in the middle of each ceiling on a switched live, which is why smart bulbs so often disappoint: someone flicks the wall switch, the bulb loses power, and the app can no longer reach it. There are two clean solutions. Fit a smart module behind the existing switch so the wall switch keeps working normally, or leave the fitting permanently live and control it with a battery scene switch. Either is an afternoon for an electrician, with no chasing of walls.
Then layer. The ceiling light is for cleaning and finding things; evenings belong to light at eye level and below, which means floor lamps, table lamps and something washing a wall. Keep every lamp in a room at the same colour temperature, 2700K, with a colour rendering index of 90 or better, and make it dimmable. Mixed whites are the single most common fault we see, and no amount of expensive fittings rescues a room lit half warm and half cold. A track run from the existing central point gives three or four adjustable heads without new cabling. There is more on working with the soft, overcast light we get here in our notes on lighting design for Amsterdam homes.
4. Cables and sockets, the detail that spoils good rooms
Skirting with an integral cable channel solves most of it and can be fitted in a day. Adding or moving a socket is cheap in a pre-war house with a timber joist floor, because the boards lift; expect an indicative 150 to 350 euros per point. On a concrete floor it means surface trunking or a floating build-up, so plan it into a floor replacement rather than doing it alone. Have a certified electrician check the groupenkast while they are there, especially if you have added a dishwasher, a Quooker or an induction hob since the last upgrade.
5. Mirrors, and where not to put them
A full-height mirror along the long wall of a narrow hallway is the one visual trick that works as promised. The substrate decides the method: old plaster on brick needs mechanical fixings on a packed, level subframe, or the reflection distorts and the room looks cheap. On a lightweight partition, a bonded panel is better. Where not to put one: directly opposite a window is the cliche, and in a south-facing room it throws glare across the seating and adds heat in June. The better position is usually on the wall at right angles to the window, picking up daylight without reflecting the street back at you.
Colour, with two Dutch caveats
Colours read cooler and greyer here than on a Mediterranean moodboard, because for much of the year the light is soft and overcast. Paint A3 patches on two different walls and look at them at nine in the morning and eight at night before committing. And remember that the woodwork does more work than the wall: original skirting and doors in a hard white against a warm wall is what makes a scheme look unfinished. Our notes on palettes that hold up in Dutch daylight cover which tones survive February.
The order to do it in
- Dirty and invisible first: electrics, any grout and kit work, filling and repairs.
- Then joinery and fronts, so the paintwork is not damaged by fitting.
- Then paint: ceilings and woodwork before walls.
- Light fittings and mirrors once the paint is hard, usually after a couple of days.
- Textiles and styling last, chosen against the finished room.
Done in that order, a refresh of a normal Amsterdam flat is one to three weeks of trades, not months, and it costs a fraction of a renovation. Done in the wrong order, you pay twice for the same paintwork. If you are not sure whether what is bothering you is a surface problem or a building problem, that is the question to answer first, and it is usually clear within a single visit. Tell us what is annoying you about the room and we will say which of the two it is.