
19 June 2025 · 7 min read · Last updated 17 September 2026
Your Amsterdam Renovation: From First Visit to Handover
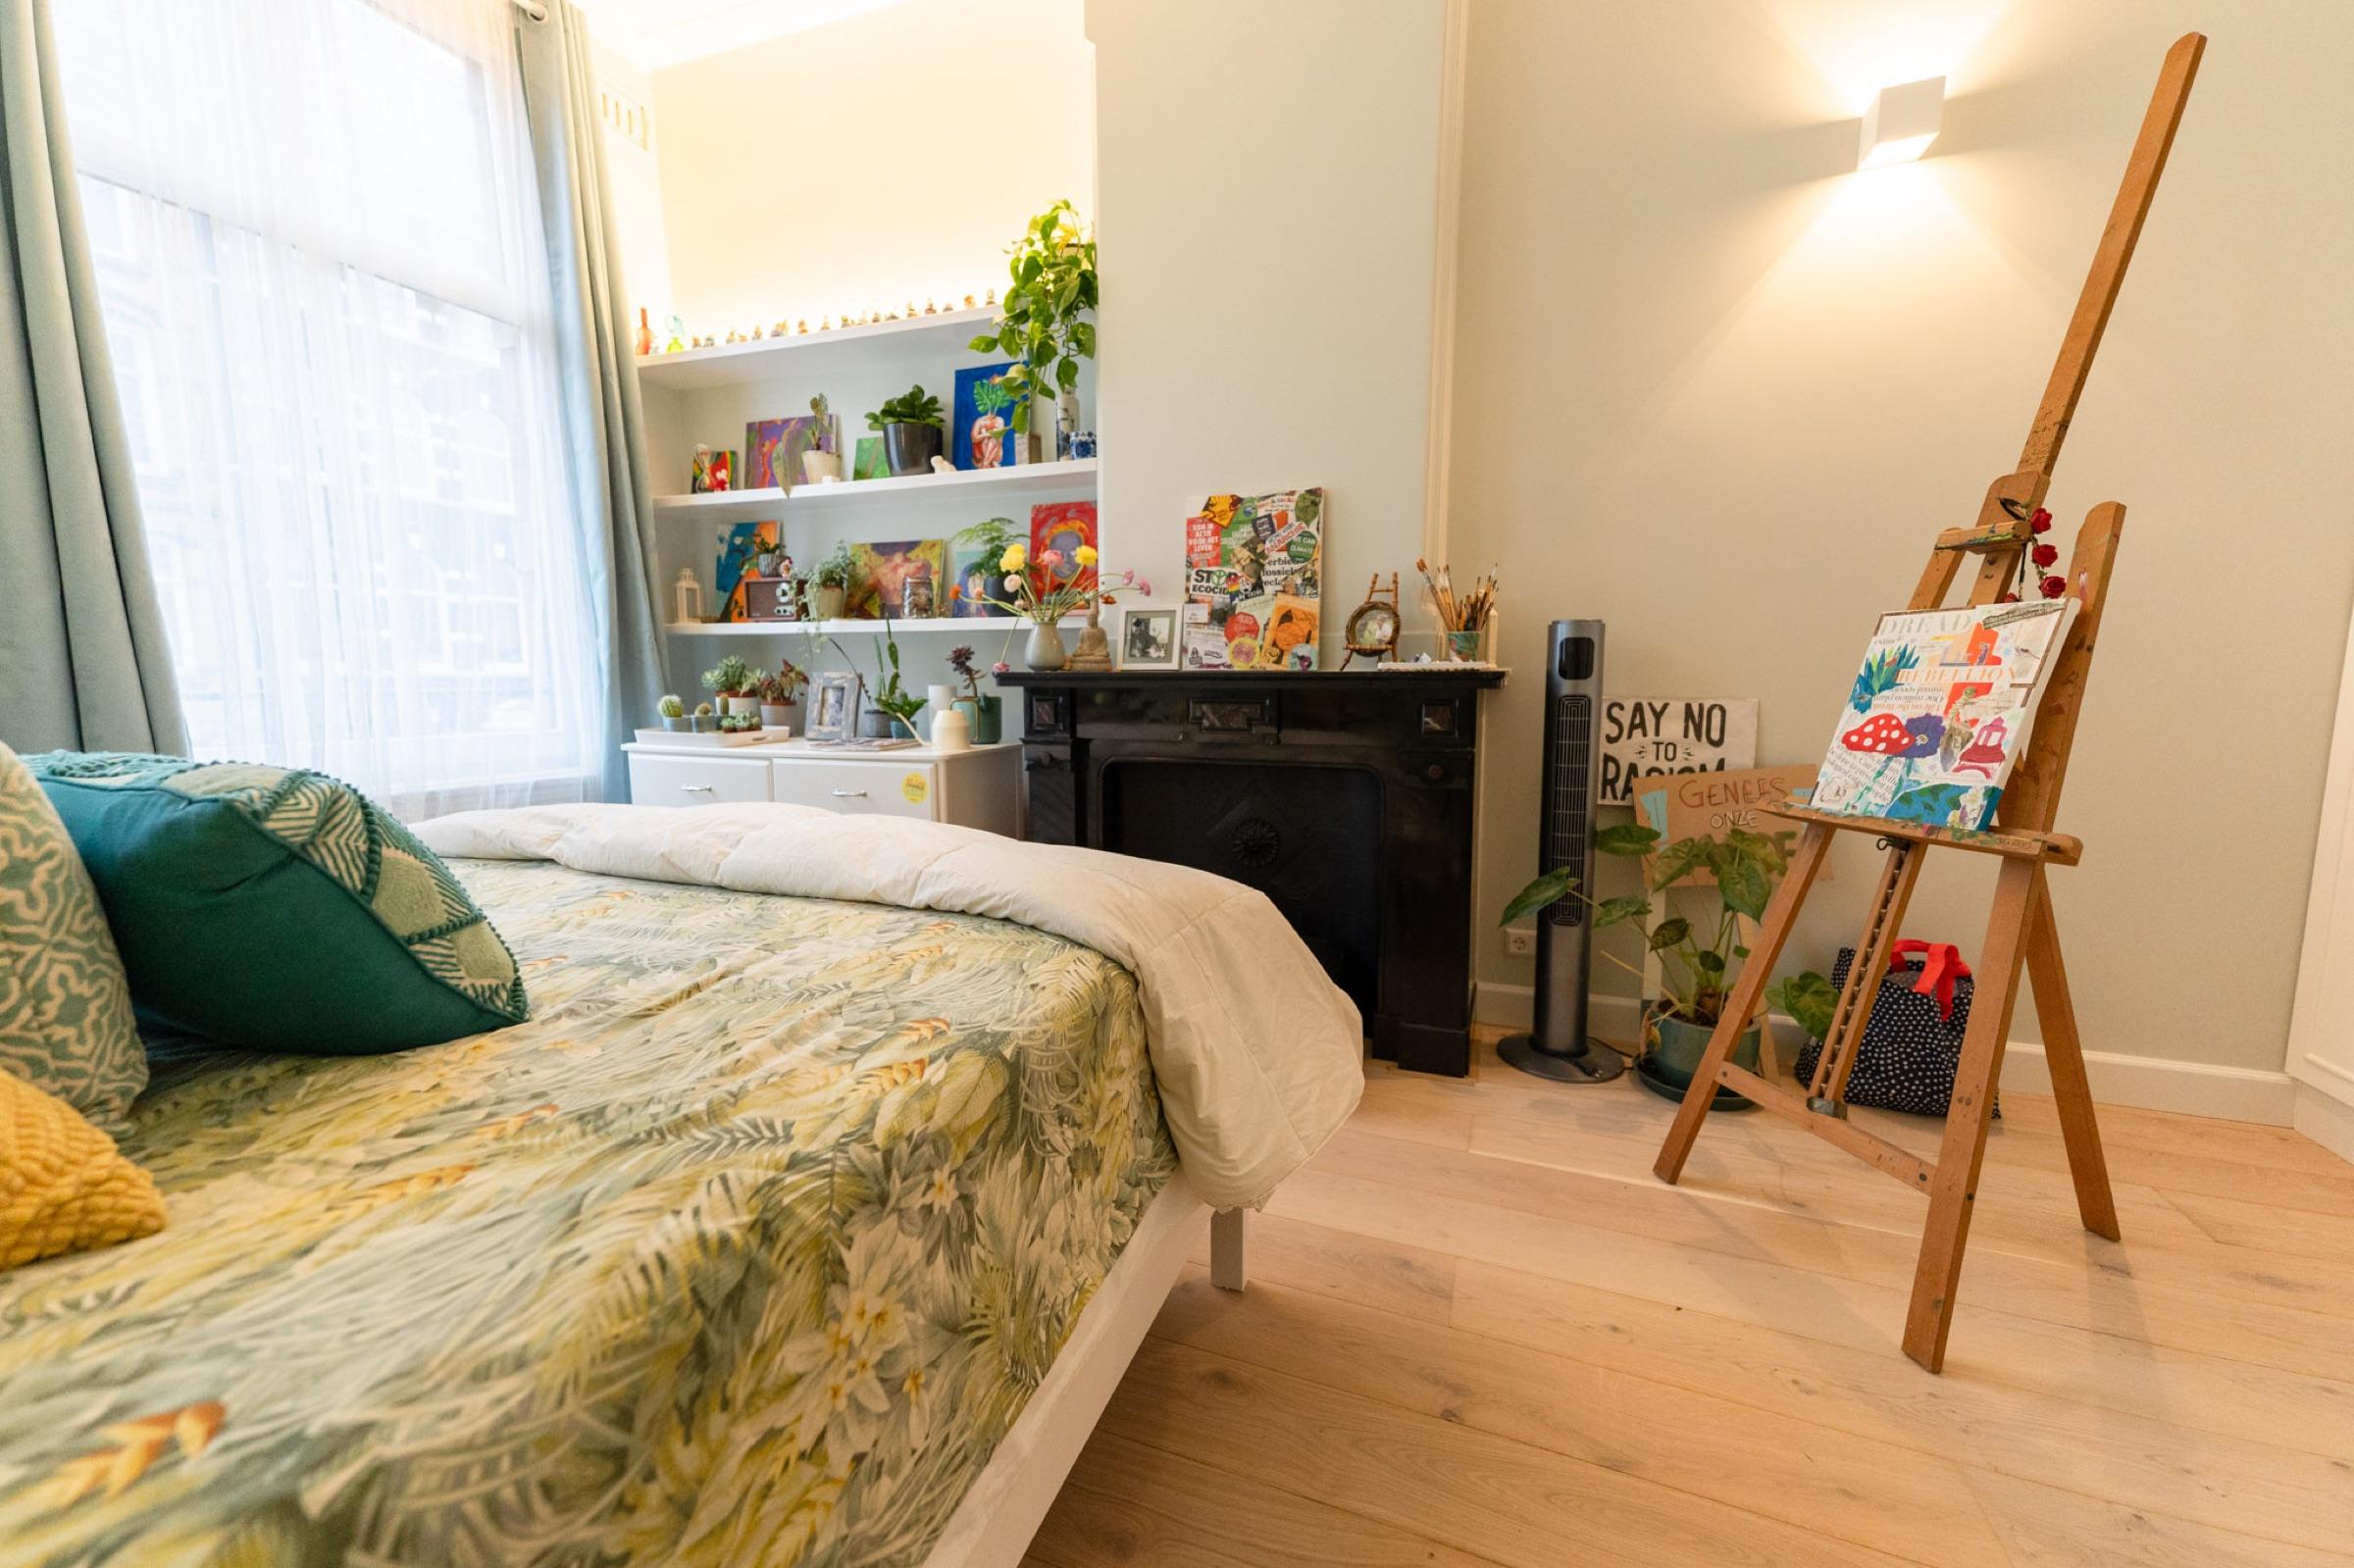
Most people call us from a kitchen where the only socket is exactly where the coffee machine should stand, or a bathroom last touched in 1998. The question is always the same: what happens now, in what order, and how long will we be living in it? This is the honest answer - the sequence we follow on a typical Amsterdam home, what each stage is for, and where projects go sideways.
Step 1: the first visit, and what it is actually for
The first visit takes one to two hours and is mostly measuring and looking. We laser-measure the rooms, check whether floors and walls are level and plumb (in pre-war housing they rarely are), open the meter cupboard, find where the soil stack runs, and put a moisture meter into anything suspicious. In an apartment we also want to see the stairwell and the front door - that is what every cabinet and bath has to pass through.
Four things make that visit more productive: any floor plans you own, the splitsingsakte and house rules if you are in a VvE, the energy label, and a list of appliances you intend to keep or buy. That list matters more than people expect - it sets the electrical load, the extraction route and half the joinery dimensions.
Step 2: the technical health check
Before anyone talks about tiles, we establish what the house can carry. Electrics are checked against NEN 1010: earthing, 30 mA RCDs for wet zones, no aluminium conductors, enough groups for a modern kitchen. If you are adding induction, an oven, a heat pump or a charge point, a 1x35A connection often will not do, and upgrading to 3x25A means an application to Liander - that can take weeks to months, so it goes in first, not last.
Ventilation is measured against the Bbl, which sets minimum capacities room by room - in practice around 21 l/s for a living room and 14 l/s for a bathroom, with the extract actually working rather than just humming. Insulation is compared against the Bbl renovation minimums, which are modest (roughly Rc 1.4 for walls, 2.0 for roofs, 2.5 for floors); if the fabric is open anyway, aiming nearer new-build levels is cheaper now than later. And in anything built before 1994, an asbestos inventory is needed before demolition - old floor tiles, adhesives and pipe lagging are the usual finds. You get all of it back as a written report with photographs, separating must-fix from nice-to-have.
Step 3: why "what will it cost?" has no single answer
Six things move the number more than the finishes do: floor area, the condition of the services, how much structure is touched (a load-bearing wall means a constructeur, drawings and usually a permit), finishes, logistics, and timing. Logistics is the one people underestimate: in the centre, deliveries are constrained by the milieuzone and loading windows, and a canal house may need a hoist or a street-occupation permit.
Indicatively, a full interior renovation in Amsterdam lands around €1,000-€1,800 per m² for a solid standard and more for premium specification; a bathroom is commonly €15,000-€35,000 and a fitted kitchen €15,000 upwards. Those are market ranges, not quotes - your number comes from the survey. Keep 10-15% of budget and time as contingency: in pre-war housing, something behind the plaster is always different from the drawing.
Step 4: design, and locking the specification
Design is where the money is really spent: every decision made here is cheap, and every decision made after demolition is not. We work through layout and ergonomics, then the unglamorous layer: socket and switch positions, lighting circuits and dimming, tap heights, exact appliance models, tile setting-out, and where the extraction runs. Look at samples in your own rooms at different times of day - Dutch daylight is flat and grey for much of the year, and LED lamps shift a shade more than any sample card admits.
The specification is then locked and priced. A later change is not impossible, it just costs time and money, and you should be told how much first.
Step 5: permits, VvE and monuments
Since 1 January 2024 all applications go through the Omgevingsloket. Purely internal work that does not touch structure is usually permit-free; changing the façade, adding a dormer, extending, or altering anything on a monument or in a protected streetscape is not. A straightforward application runs about eight weeks; heritage assessment takes longer.
Separately - and this catches people - your VvE has its own say. Hard flooring, wet rooms over neighbours, penetrations through the façade or roof, and changes to shared risers typically need consent from the assembly, with the splitsingsakte and house rules setting the terms (a 10 dB contact-noise improvement is a common condition for hard floors). Budget two to six weeks and submit early. The full decision tree is in our guide to permits, monuments and VvE approvals.
Step 6: choosing the crew, and what the contract should say
- KVK registration, a valid BTW number and liability insurance - ask to see them; any serious company sends them the same day.
- One named project manager as your single point of contact, not a number per trade.
- A contract with a defined scope, a phased schedule, payments tied to completed stages, and a retention (commonly 5%) released after handover.
Since the Wkb came into force in January 2024, a contractor's liability for defects found after handover is stronger than it was, and a handover dossier is normal practice. That is in your favour - insist on it.
Step 7: the build, phase by phase
These durations are typical for an apartment or one townhouse floor, and they overlap. The critical path is drying time and long-lead items, not labour.
- Strip-out: 1-5 days. Stairwell and common areas protected first, then tiles, units and floors out.
- First fix: 3-10 days. Electrical, plumbing and ventilation rough-ins, pressure tests, in-wall frames at final heights.
- Plaster and screed: the slow part. Plaster needs roughly a week per centimetre; cement screed dries at about a centimetre a week and must be measured, not guessed, before a floor goes on it.
- Wet finishes: 3-14 days. Tanking, tiling, trays. Shower glass is measured only after tiling, then 2-3 weeks in production. Paint follows once the dusty trades leave.
- Floors: 2-5 days, after the boards acclimatise in the heated house.
- Final fit: 3-10 days. Kitchen, sanitaryware, doors, lighting, handles.
- Commissioning and clean: 1-2 days, before the handover walk-through.
A bathroom on its own shows how procurement rather than site work sets the pace; the week-by-week version is in our realistic Dutch bathroom timeline.
Step 8: living through it
Decide early whether you stay or move out. A kitchen-plus-bathroom project is hard to live through, and a few weeks of rent sometimes buys back more than it costs. If you stay, we build dust walls, keep one bathroom working as long as possible, and agree quiet hours in writing. Tell your neighbours yourself a week before the noise starts. Plan around the bouwvak in high summer, when much of the Dutch trade and supply chain closes for a fortnight. And in the centre, access needs its own plan - narrow stairs, hoisting, waste containers, timed unloading - which is the subject of renovating a canal house.
Most renovation stress is really a communication problem, the argument in our piece on where renovation stress comes from. Agreeing how and when you will hear from site removes most of it.
Step 9: handover, and the week after
Handover is not "the builders left". It is a walk-through against the drawings with a written snagging list and a date against each item, flows measured, hot water balanced, and a dossier handed over: photographs of concealed works, valve locations, product data, paint codes and leftover tiles. Final payment follows that walk-through, not the other way round.
Then let the house settle. Timber moves in the first heating season, silicone sometimes needs re-striking, a door may want adjusting. That is normal; a good contractor comes back for it.
To find out what your building will allow before committing to anything, send us the basics - floor area, year of construction, a few photographs and your wish list - and we will come back with a survey proposal and a draft schedule, one team accountable from first measurement to last snag.