Peace Between Floors: A Step-by-Step Plan for Apartment Soundproofing
Good acoustics between apartments don’t happen by accident. They’re the result of a clear process: diagnose the noise, agree the ground rules, design the right build-up, and then execute in the right order. Below is a straightforward, Amsterdam-proof timeline that helps you choose what to do—and what to postpone—so you end up with a quieter home and happier neighbours.
The timeline at a glance
Most apartment soundproofing projects run in two parts: planning and build. Planning typically takes 3–6 weeks (depending on VvE approvals and any heritage constraints). The build itself is usually 5–10 working days for a standard ceiling and wall package, or up to 2 weeks if you’re adding a floating floor and acoustic doors.
- Week 1: Noise diagnosis, simple tests, scope definition.
- Week 2–3: Neighbour/VvE discussions, finalise approach (ceiling, floor, walls), structural check for weight on timber joists.
- Week 3–4: Detail design, materials ordering, logistics planning (stairs/lift, time windows).
- Week 5–6: Approvals (if required), site readiness.
- Build Week: Preparation, sealing, ceiling/walls, floor, doors, finishing and snagging.
Phase 1: Diagnose the noise, not just the room
First decide what bothers you most: impact noise (footsteps, chairs scraping) or airborne noise (voices, TV, music). Impact noise travels through structure; airborne sound moves through air and gaps. In Amsterdam’s older buildings with timber-beam floors, you often have both.
Do quick, low-tech checks: ask your upstairs neighbour to walk in shoes while you listen; compare with them speaking normally. Use a phone app to log levels at different times—it’s not lab-accurate, but it clarifies patterns. Note flanking paths: radiator penetrations, downstand beams, shared shafts, and the perimeter of the floor where sound can sneak around treatments.
Phase 2: Agree the rules—VvE, neighbours, and permits
In a VvE building, check the splitsingsakte and house rules for floor requirements (many mandate a soft underlay or a minimum acoustic performance). If your best fix is upstairs (a floating floor), get written agreement early; offering to cover part of the cost can be the cheapest path to peace. For downstairs-only solutions, a resiliently hung acoustic ceiling can achieve meaningful improvements without relying on neighbours.
If your home is a Rijks- or gemeentelijk monument, structural changes and visible alterations may need a permit. Acoustic upgrades can be heritage-friendly, but details matter (e.g., fixing into old beams). Allow 6–8 weeks if a permit is required; start by checking the city guidance for monuments (Gemeente Amsterdam).
Phase 3: Choose the right build-up
Here’s how to choose, quickly and sensibly:
- If impact noise from above is your pain point: The gold standard is an upstairs floating floor—rigid board on acoustic underlay, with a perimeter isolation strip, and a dense finish. Expect meaningful reduction in footfall noise compared with just a soft rug. If upstairs isn’t an option, a resilient ceiling in your flat is next best: metal channels on acoustic hangers, dense mineral wool, and double acoustic plasterboard with a damping compound; often 8–12 dB subjective improvement for airborne noise, and a helpful but smaller reduction in impact noise.
- If voices and TV bleed through: Prioritise the ceiling and party walls. Use double layers of 12.5–15 mm boards with staggered joints, add mineral wool in the cavity (45–70 kg/m³), and decouple the lining from the structure. Seal every edge with acoustic mastic.
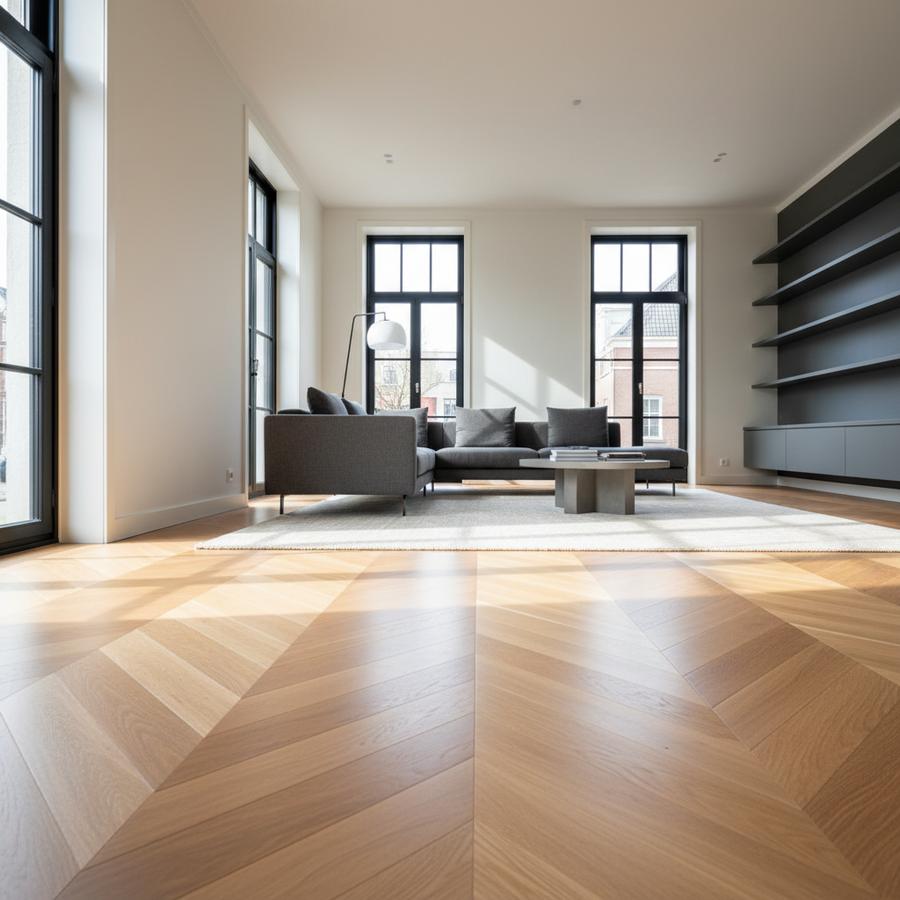
- If you’re replacing floors anyway: In timber-beam apartments, avoid heavy wet screeds that overload joists. Opt for a dry floating floor: high-density boards over rubber/cork underlay, 5–10 mm isolation strip at the perimeter, then the finish. This is VvE-friendly and keeps weight reasonable.
- Don’t forget flanking: Upgrade hollow doors to acoustic doors with drop seals, box in service risers with mass and damping, and fit putty pads behind sockets on party walls.
Phase 4: Sequence the works (so gains aren’t lost)
Soundproofing fails most often in the sequencing. Treat it like a system:
- 1. Preparation and sealing: Remove skirtings and cornices if needed. Chase and seal gaps, pipe penetrations, and the perimeter with acoustic mastic or intumescent sealant around services. Make an airtight layer before adding mass.
- 2. Ceiling first: Install acoustic hangers and channels, infill with mineral wool, then board with two layers and a damping compound. Keep a 5–10 mm shadow gap at the perimeter and seal it. Doing the ceiling first lets walls overlap it for better airtightness.
- 3. Party walls: Build any independent stud frames now. Double-board them, seal all edges, and treat sockets with putty pads. Consider acoustic plaster finishes if you want a seamless look.
- 4. Floors last: If you’re adding a floating floor, bring the isolation strip up the wall so the floor doesn’t touch it; then trim and fit skirtings on small resilient gaskets. This preserves the “floating” effect.
- 5. Doors and details: Fit acoustic doors, perimeter seals, and threshold drop seals. Refit skirtings with a continuous acoustic bead behind.
In Amsterdam, factor logistics: narrow staircases mean sheet sizes must be planned (smaller boards, more joints—compensate with an extra layer). Book lift slots if you have a modern gebouw. Manage noisy works within VvE hours; tell neighbours when hammer drilling happens. It’s goodwill, and it protects you if there’s a complaint.
Practical build timeline (typical 7–9 working days)
- Day 1–2: Prep — protection, removals, gap sealing, hanger layout, deliveries. Confirm no hidden wiring before fixing.
- Day 3–5: Ceiling and walls — hang the resilient grid, mineral wool in, first and second board layers with damping, mastic perimeter. Build any independent wall frames and board them.
- Day 6–7: Floors and doors — lay underlay, boards, isolation strip; fit acoustic doors and seals. Keep floors protected during painting.
- Day 8–9: Finishing — skim/paint, reinstall skirtings on gaskets, final sealant, snagging.
For timber-beam floors, a quick structural check is wise before you order. Even dry systems add mass; you want to confirm spans and allowable loads. In canal houses, we also watch for uneven substrates and historical “spring” in the floor—plan shimming to keep finishes flat without creating rigid bridges.
Common mistakes to avoid
- Chasing a premium ceiling but leaving hollow, leaky doors in place.
- Letting the new floor touch skirtings or columns—bridging kills performance.
- Fixing services through the resilient ceiling grid without isolation grommets.
- Skipping perimeter sealant because “the plasterer will close it.” Airtightness is acoustic performance.
- Ordering oversized boards that won’t clear the stairwell, then cutting everything onsite (more dust, worse joints).
- Ignoring VvE requirements on underlay—risking a post-facto dispute.
Your decision checklist (before you book a contractor)
- What’s worse: impact or airborne noise? Choose ceiling/floor priority accordingly.
- Can the upstairs neighbour cooperate on a floating floor? If yes, what’s a fair cost split?
- What does your VvE require for floors and working hours? Get it in writing.
- Is your building a monument? If so, confirm permit needs and fixing methods.
- What’s the target finish height, and will doors and thresholds still work?
- How will materials get in (stair width, lift size), and do you need smaller board formats?
- Where are the flanking paths (doors, risers, sockets), and how will you seal them?
Done methodically, soundproofing is less about “magic materials” and more about a calm sequence, airtightness, and neighbour diplomacy. Follow the process, and you’ll get the warm, hushed interior you pictured—especially at golden hour, when the city is still and your home finally is too.