Amsterdam Kitchens: 10 Common Mistakes and How to Fix Them
Amsterdam kitchens have character: tall windows, quirky walls, and just enough space to make every decision matter. We see the same mistakes again and again—especially in canal houses and 20th-century apartments. Here’s how to avoid the headaches and get a kitchen that cooks beautifully and lives well in Amsterdam and Noord-Holland.
Mistake 1: Designing for a showroom, not your building
Beautiful renders can ignore the reality of your staircase, floor levels, and walls that are not quite square. In many grachtenpanden and upstairs apartments, 60 cm appliances and tall units are fine—but 90 cm ranges, deep fridges, or a single massive worktop often won’t make the turn.
Solution: Measure the route in detail: doorway widths, stair winders, ceiling heights at landings, and the window opening if hoisting is needed. Break large worktops into templated sections, use 45 cm dishwashers where access is tight, and specify tall units in split modules. Plan delivery logistics; a moving lift or hoist may require a permit and time window. Protect floors and balustrades on delivery day.
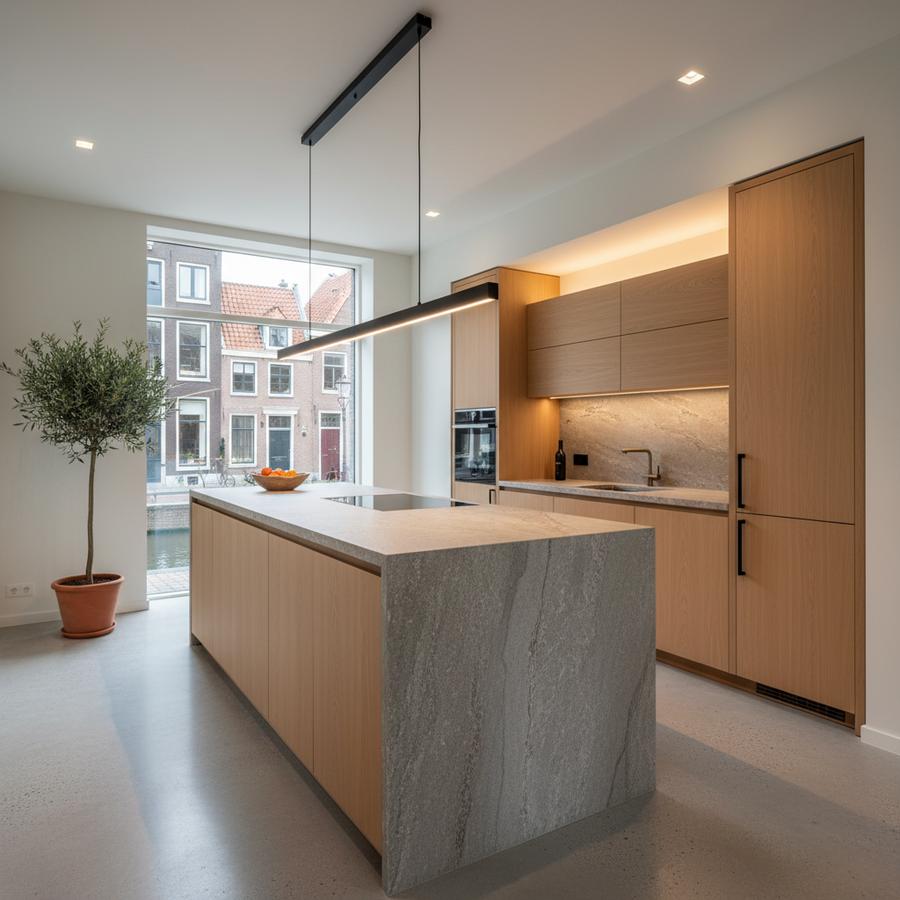
Mistake 2: Forcing an island into a narrow plan
Many Amsterdam homes are long and slender. An island can choke circulation, making cooking stressful and social time awkward.
Solution: Use a galley with generous clearances instead. Aim for 100–110 cm between runs (90 cm minimum). Consider a peninsula at one end or a slim, furniture-like worktable with open legs to keep the sightlines light. If you truly want an island, cap its depth at 70–80 cm and keep one side appliance-free so two people can pass without collisions.
Mistake 3: Poor extraction in monuments or VvE buildings
Running a duct through the street facade can be a non-starter in Rijksmonument or gemeentelijk monument properties, and many VvE bylaws limit changes to the envelope and roof. Ignoring this can stall your permit or earn you a letter from the VvE.
Solution: Start with approvals. Check if your home is protected and review VvE rules. If an external duct is not allowed, specify a high-quality recirculating hood with a deep capture area, carbon or plasma filter, and regular maintenance schedule. If ducting is possible, route to a rear facade or roof where allowed, keep runs short and smooth, and use an inline fan to reduce noise. Size for real cooking loads: aim for 300–600 m³/h on boost and keep everyday noise under roughly 45 dB(A).
Tip: The Dutch Building Decree expects adequate ventilation; for kitchens, think in terms of at least 75 m³/h continuous capacity, even if you choose a recirculating hood for cooking fumes. A separate make-up air path helps hoods work better.
Mistake 4: Forgetting the power upgrade when switching to induction
Amsterdam is moving away from gas, and induction is the practical choice. But many apartments still have limited power, and older groupenkasten cannot support a modern hob plus ovens, a Quooker, and laundry nearby.
Solution: Ask a certified electrician to assess your groupenkast and load schedule. Most induction hobs prefer a 2- or 3-phase connection; plan lead times with your DSO (often Liander) and coordinate meter cabinet upgrades. Balance circuits so the hob, oven, and dishwasher do not trip breakers. If adding a boiling water tap, verify pressure and plan the boiler location to avoid stealing cabinet storage.
Local note: Expect some corridor walls to hide surprise junction boxes. Photograph and label everything at demolition; it saves hours later.
Mistake 5: Ignoring structure and weight on old timber floors
Heavy natural stone islands, stacked appliances, and thick terrazzo can overload timber joists common in canal houses and early 1900s buildings. You may notice bounce when you walk—that’s a clue.
Solution: Keep heavy items near load-bearing walls or above known beams, split stone worktops into thinner sections, and consider engineered stone or porcelain for lower weight. When in doubt, have a structural engineer review point loads; Dutch residential floors are typically designed for around 2.0 kN/m². Reinforcement is often possible from below, especially before you finalize finishes.
Mistake 6: Skimping on lighting layers
A single ceiling fixture leaves shadows over the worktop and turns cooking into guesswork. Amsterdam’s moody winters demand a better plan.
Solution: Combine three layers: under-cabinet task lighting (2700–3000K), soft ceiling wash or track lighting to open the room, and a warm pendant for dining. Dim everything. Aim for clean lines and hidden profiles to keep the room calm in daylight and golden in the evening.
Mistake 7: Wasting precious storage depth
Standard 60 cm bases can do more if you plan the interior. Poorly organized cabinets mean countertop clutter.
Solution: Use full-extension drawers, internal drawers within tall larders, and vertical dividers for trays. Integrate a three-stream recycling pull-out to match Amsterdam’s waste habits. If ceilings are high, add a slim top tier with push-latch doors for annual-use items without visual bulk.
Mistake 8: Overlooking water quality and maintenance
Parts of Noord-Holland have hard water. Limescale shortens the life of taps, kettles, and steam ovens, and makes finishes look tired.
Solution: Specify a compact water softener or scale reducer and choose finishes that are easy to live with: FENIX or matte-lacquered fronts, brushed stainless or patinated brass hardware, and sealed stone. Plan a quarterly maintenance routine—filter changes, hinge checks, and oiling of oak trims.
Mistake 9: Missing the paperwork and timing
Even if your kitchen is “internal,” you may still need approvals if you touch the facade, roof, or shared services. VvE agendas fill up, Monumentenzorg review takes time, and delivery windows in the city center can be strict.
Solution: Build a realistic roadmap: design sign-off, VvE and Monumentenzorg where relevant, electrical upgrade scheduling, and delivery booking with a moving lift if needed. Block out quiet hours for noisy work and warn neighbors. This preparation keeps your contractor focused and your project calm.
Mistake 10: Treating sustainability as an afterthought
Appliances alone won’t move your energy label. Kitchens can contribute more holistically.
Solution: Pair the renovation with targeted envelope upgrades if you can—draught-proofing, insulated internal lining on a cold gable, or new HR++ glazing on non-monument facades. Consider a compact heat-pump boiler if your layout allows, or plan infrastructure for a future heat pump. Check the ISDE scheme for subsidies on heat pumps and insulation; while cabinets are not subsidized, combining works can make financial sense and improve comfort.
Quick decision checklist
- Route and delivery: Can every unit and worktop physically reach the kitchen without damage?
- Approvals: Do VvE rules or Monumentenzorg limit ducts, windows, or roof penetrations?
- Power and water: Do you have the right phases, groups, and water pressure for induction and hot taps?
- Ventilation: Ducted or recirculating—and how will you meet airflow quietly?
- Layout: Are aisles 100–110 cm and the main prep zone clear of crossings?
- Structure: Are heavy elements placed where floors can take the load?
- Maintenance: Have you planned lighting layers, filtration changes, and limescale control?
Done well, an Amsterdam kitchen feels effortless: morning light on a calm worktop, enough room for two cooks, and a quiet hum of well-planned services behind it all. Start with the constraints—stairs, neighbors, bylaws—and design a simple, robust solution around them. That’s what lasts.